Reactで使えるドラッグドロップのライブラリが非常に良かったのでメモ。
シンプルに使える上にできることが多い。
フレームワークとして Next.js と Material UI を使っています。
サンプルコードを少し変えつつ動かしてみます。
参照
github の README よりは、下のドキュメントの方がサンプルがあるので情報量が多いです。サンプルは examples/ でも見えますが実際に動かせるのでわかりやすい。
サンプルコード
まず Next.js で動かしてみます。
様々なコンポーネント形式で動かせますが基本的にフックを使っていきます。
サンプルコードに accept を追加。
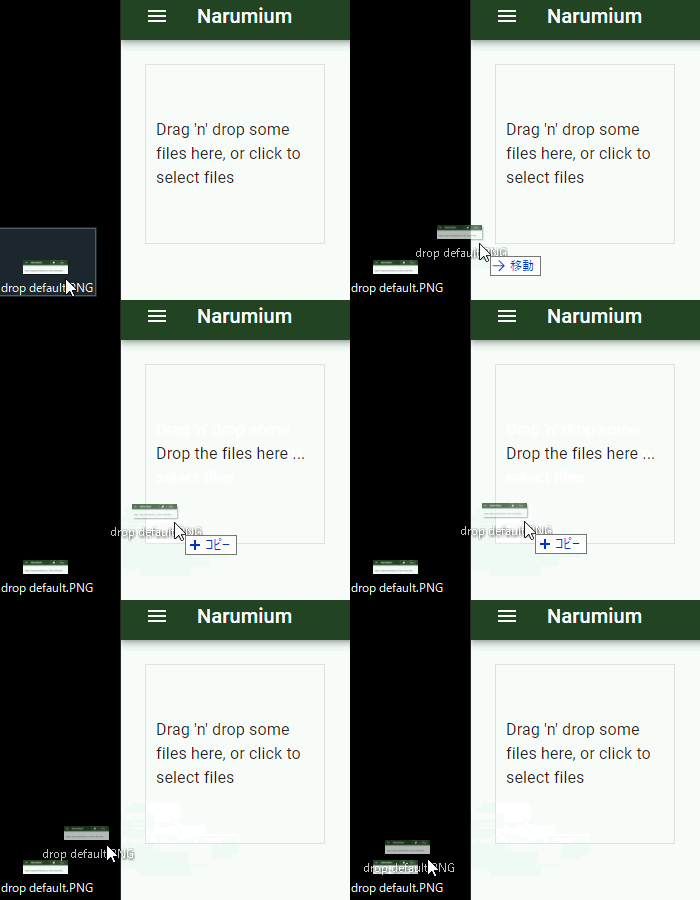
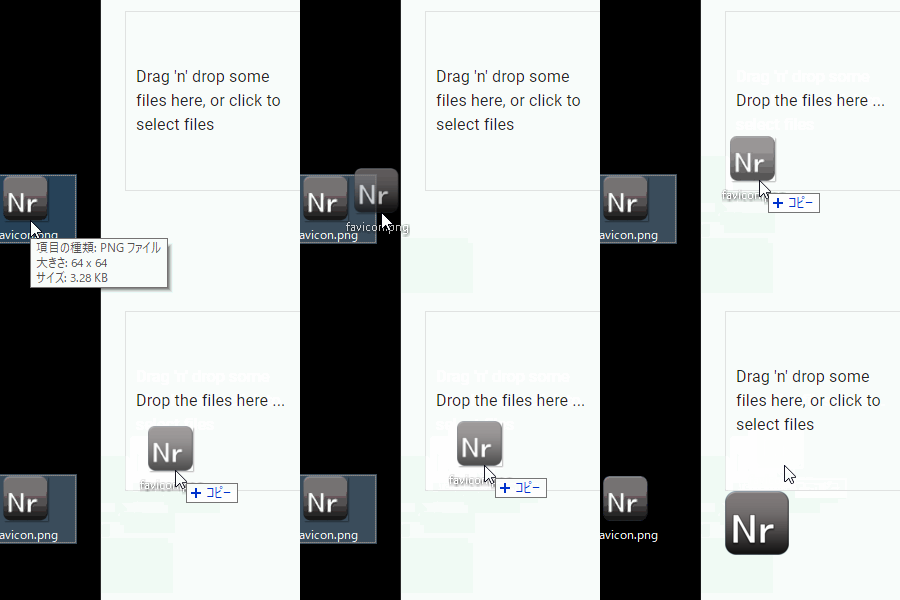
ドロップエリアにファイルをドラッグすると isDragActive が true になります。
|
1 2 3 4 5 6 7 8 9 10 11 12 13 14 15 16 17 18 19 20 21 22 23 24 25 |
import React, { useCallback } from "react"; import { useDropzone } from "react-dropzone"; const App = () => { const accept = "image/*"; //"image/jpeg, image/png"; const onDrop = useCallback((acceptedFiles) => { console.log(acceptedFiles); }, []); const { getRootProps, getInputProps, isDragActive } = useDropzone({ accept, onDrop, }); return ( <div {...getRootProps()}> <input {...getInputProps()} /> {isDragActive ? ( <p>Drop the files here ...</p> ) : ( <p>Drag 'n' drop some files here, or click to select files</p> )} </div> ); }; export default App; |
かなりシンプルに書けますね。

ここにファイルをドロップすると、accept したファイルのみ配列形式で onDrop 関数に入ってきます。
またクリックした場合は対象ファイルしか選べないようにしてくれます。

実践(Material UI
Material UI を使ってそれっぽく書くとこんな感じになります。
|
1 2 3 4 5 6 7 8 9 10 11 12 13 14 15 16 17 18 19 20 21 22 23 24 25 26 27 28 29 30 31 32 33 34 35 36 37 38 39 |
import React, { useCallback } from "react"; import { useDropzone } from "react-dropzone"; import { Box, Paper, Typography } from "@material-ui/core"; const App = () => { const accept = "image/*"; //"image/jpeg, image/png"; const onDrop = useCallback((acceptedFiles) => { console.log(acceptedFiles); }, []); const { getRootProps, getInputProps, isDragActive } = useDropzone({ accept, onDrop, }); return ( <Box width={180} height={180}> <Paper variant="outlined" square {...getRootProps()} style={{ height: "100%", display: "flex", alignItems: "center", padding: 10, }} > <input {...getInputProps()} /> {isDragActive ? ( <Typography>Drop the files here ...</Typography> ) : ( <Typography> Drag 'n' drop some files here, or click to select files </Typography> )} </Paper> </Box> ); }; export default App; |

実践(投稿画像表示
URL.createObjectURL() を用いて画像パスをセットします。
|
1 2 3 4 5 6 7 8 9 10 11 12 13 14 |
const App = () => { const [img, setImg] = React.useState(""); const accept = "image/*"; const onDrop = useCallback((acceptedFiles) => { const createObjectURL = (window.URL || window.webkitURL).createObjectURL; if (acceptedFiles.length != 0) setImg(createObjectURL(acceptedFiles[0])); }, []); return ( <> <Box /> <img src={img} /> </> ); }; |
必要なら revokeObjectURL() も追加する。

見た目の調整
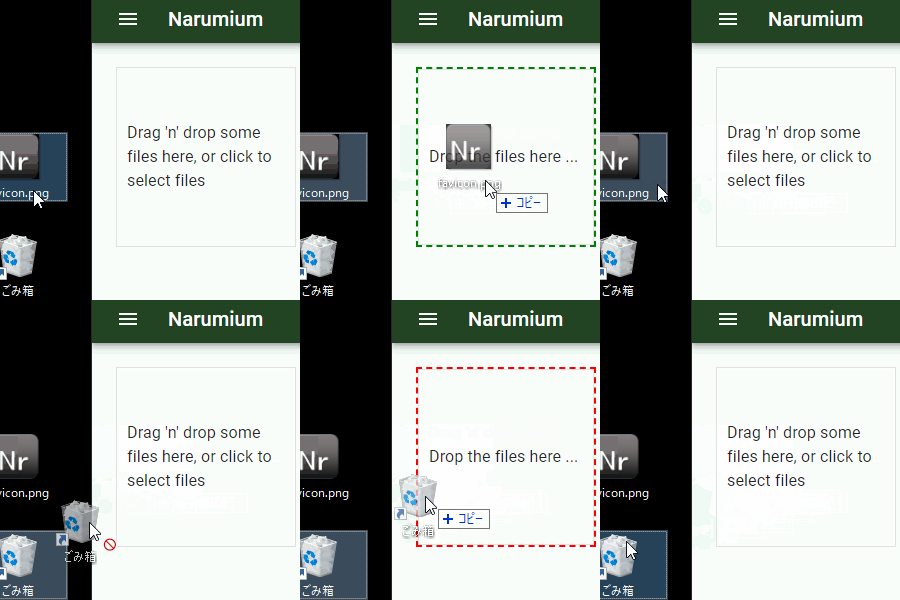
isDragAccept や isDragReject などを使って判定することでドラッグ時の見た目を変えることもできます。便利だけど maxFiles による reject に反応しないのでファイル拡張子の判定だけ。
|
1 2 3 4 5 6 7 8 9 10 11 12 13 14 15 16 |
const { getRootProps, getInputProps, isDragActive, isDragAccept, } = useDropzone({ accept, onDrop, maxFiles: 1, }); const color = isDragAccept ? "green" : "red"; const border = `${isDragActive ? "dashed" : "none"} 2px ${color}`; ... <Box width={180} height={180} border={border}> |

エラーメッセージ
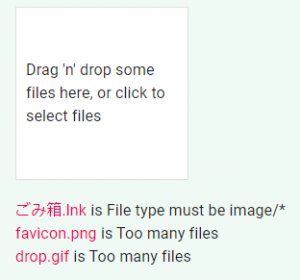
Reject されたファイルを取ってくる場合には fileRejections を使います。
この用途としてはエラーメッセージを表示するくらい?
|
1 2 3 4 5 6 7 8 9 10 11 12 13 14 |
const fileRejectionMsg = ( <Typography> {fileRejections.map(({ file, errors }) => { return ( <Typography key={file.name}> <Typography component="span" color="secondary"> {file.name} </Typography>{" "} is {errors.map((e) => e.message).join(",")} </Typography> ); })} </Typography> ); |

あとは open を使ってドラッグ&ドロップ部とクリックボタンを分けたり、file のプロパティを拡張したりするサンプルもありますが、今のところ使いそうにないのでとりあえず眺めるだけ。
ユーザローカルファイルを扱うのにこれ以上ないくらい便利そうです。
