gl-reactをReact Nativeで使う方法の覚書。
前回(設定やフィルタ処理)の続きのような感じ。
使ってみたいのはこちら。
https://gl-react-cookbook.surge.sh/paint
GLによるペイントプログラムです。
サーフェイス
ソースをコピペした後、まずはSurfaceのインポート元を変更します。
|
1 2 3 |
import { Surface } from "gl-react-dom"; ↓ import { Surface } from "gl-react-expo"; |
マウスイベントとタッチイベント
React Nativeを使うのでマウスでなくタッチイベントになるんですが、この辺のドキュメントが見当たらないです。
とりあえず関数はそのままでイベントの方を書き換える。
|
1 2 3 4 5 6 7 8 9 10 11 12 13 |
let { width, height } = Dimensions.get("window"); return ( <Surface onTouchCancel={this.onMouseLeave} onTouchMove={this.onMouseMove} onTouchStart={this.onMouseDown} onTouchEnd={this.onMouseUp} webglContextAttributes={{ preserveDrawingBuffer: true }} style={{ width: width, height: height }} > <Node shader={shaders.paint} uniforms={this.state} clear={null} /> </Surface> ); |
また、Surface の width, height 指定方法も変更する必要があることに注意。
続いてgetPosition()(座標を得る関数)を書き換えます。
ここもちょっと問題があって、ReactやReactNativeタッチイベントの中身ってちゃんとしたドキュメントがないので中身を見ながら書くしかない。
|
1 2 3 4 |
function getPosition(e) { let { width, height } = Dimensions.get("window"); return [e.nativeEvent.locationX / width, 1 - e.nativeEvent.locationY / height]; } |
全画面ならこれで[0-1]範囲の位置を取得できる。
マウスイベントと違ってターゲットを取れないので相対位置はさらに面倒です。
|
1 2 3 4 5 6 7 8 9 10 11 12 13 14 15 16 17 18 19 20 21 22 23 24 25 26 27 28 29 |
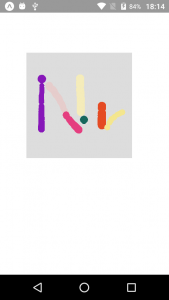
let layout; function getPosition(e) { let _x = e.nativeEvent.locationX; let _y = e.nativeEvent.locationY; return [_x / layout.width, 1 - _y / layout.height]; } ... render() { return ( <View style={{ marginLeft: 50, marginTop: 100, width: 200, height: 200 }}> <Surface onTouchCancel={this.onMouseLeave} onTouchMove={this.onMouseMove} onTouchStart={this.onMouseDown} onTouchEnd={this.onMouseUp} onLayout={this.onLayout} webglContextAttributes={{ preserveDrawingBuffer: true }} style={{ width: "100%", height: "100%", backgroundColor: "#DDD" }} > <Node shader={shaders.paint} uniforms={this.state} clear={null} /> </Surface> </View> ); } onLayout = e => { layout = e.nativeEvent.layout; }; |
とりあえず要素のサイズさえわかれば計算可能なのでSurfaceのonLayoutイベントでWidth、Heightを保存します。
nativeEvent.locationXは要素内の座標(nativeEvent.pageXは絶対座標)なのでサイズで割って[0,1]範囲に収めます。

タップで書けるのは楽しいけど、反応がちょっと怪しいのと動きが早いととぎれとぎれになるので実用化するには色々調整がいりそうです。
追記:Gesture Responder System
ジェスチャーレスポンダーというのを見つけた。
基本的にタッチイベントと同じように使うことになるけど、イベント情報が多くて特に touchHistory.touchBank を使うと移動の補完がしやすいかもしれない。
|
1 2 3 4 5 6 7 |
<Surface ... onStartShouldSetResponder={() => true} onResponderGrant={this.onMouseDown} onResponderMove={this.onMouseMove} onResponderRelease={this.onMouseLeave} > |
タッチイベントを上のように置き換えると同様に動きます。
onStartShouldSetResponderを設定しておかないと動かないので注意。
onMoveShouldSetResponderでもいいけどこのへん説明の本意がよくわからない。
追記:React GL API Document
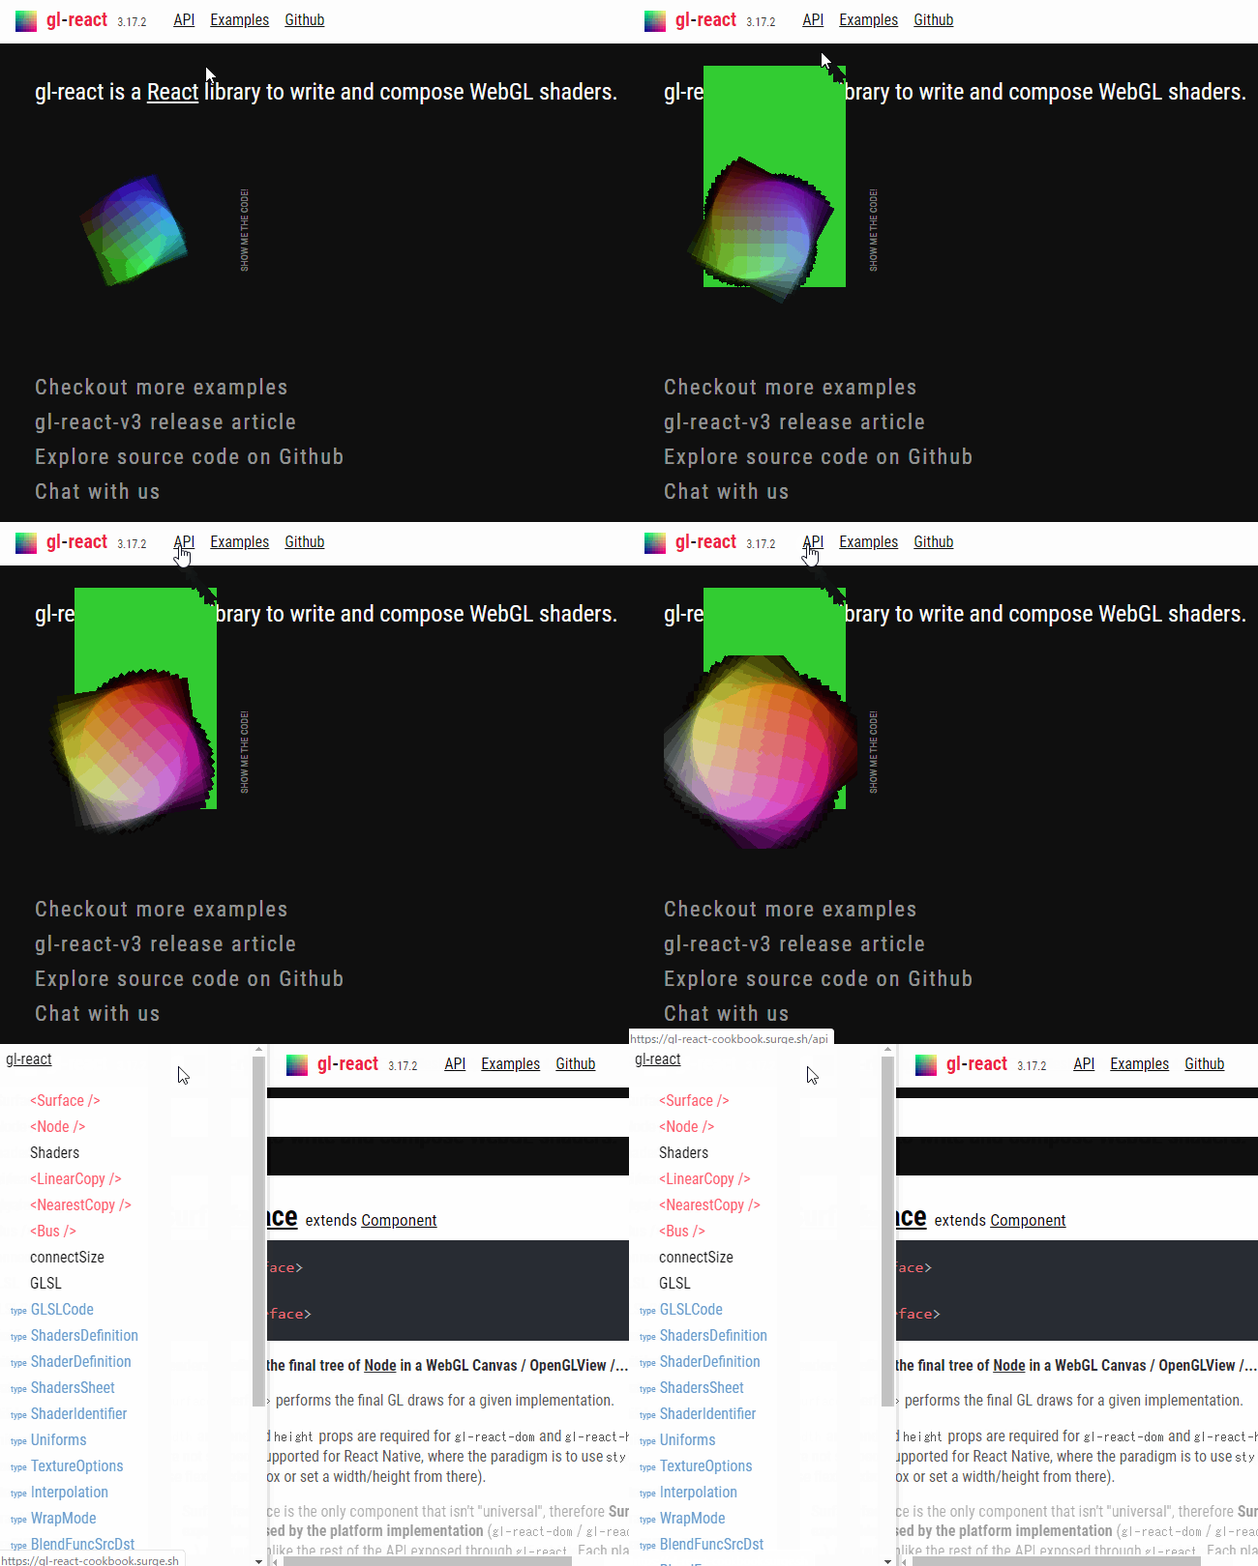
Cookbookの左上のAPIリンクからドキュメントに移動できた(API)。

上のExamplesとGithubがコンテンツのリンクと一緒だったからAPIを見逃してた。
もうちょっと主張してほしい所。せめてコンテンツ部分ににリンクがあれば。